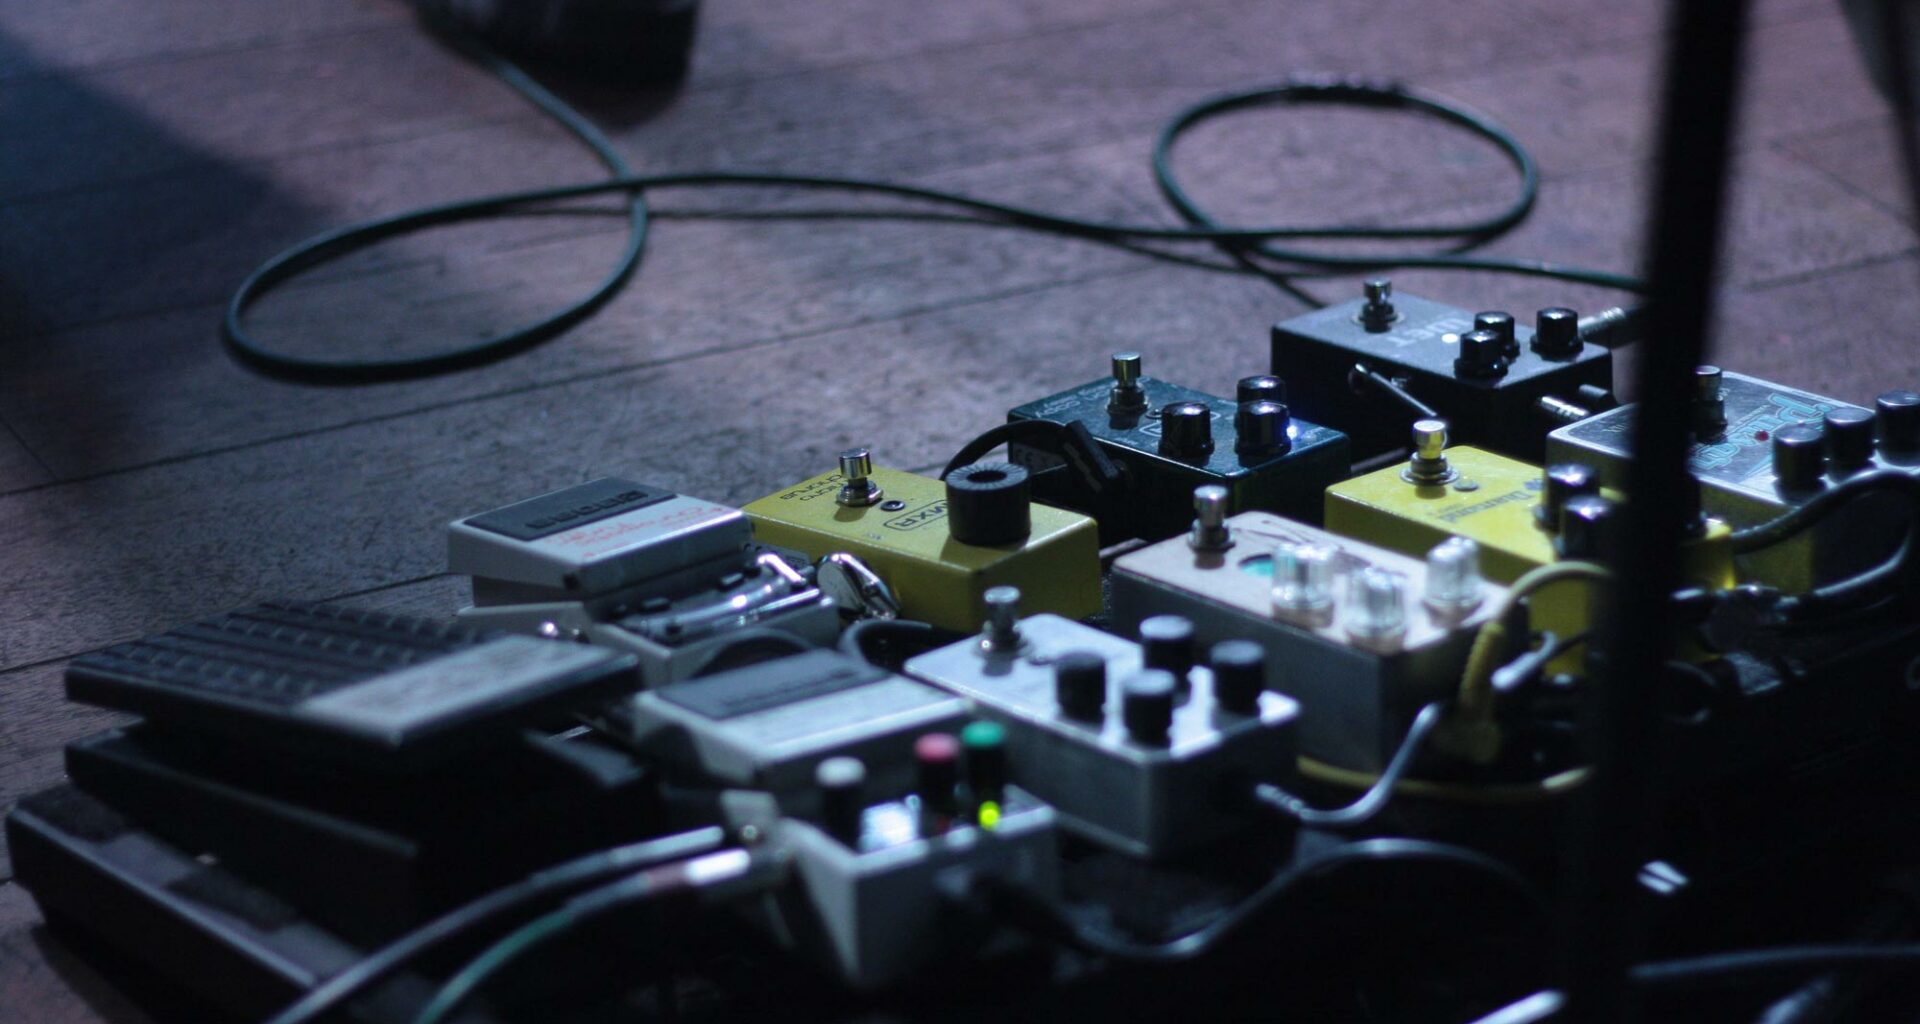
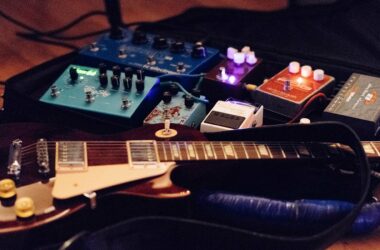
The complete guide to mastering the art of pedalboard chaining.
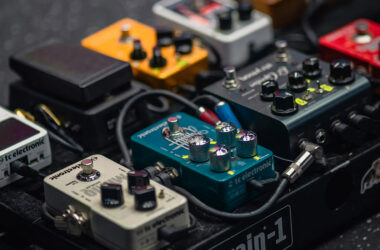
In the complex world of effects pedals, mastering the art of pedalboard chaining is essential to finding and achieving the ideal sound. We’ll explore in detail how to arrange your pedals on an amp with or without an effects loop, explaining why some pedals are placed before or after others.
This comprehensive guide will give you the basics to think about and build your pedalboard, and determine the ideal order of your favorite pedals. Nevertheless, there are no hard and fast rules: everyone does as they please, and it’s often worth trying out different possibilities to find YOUR ideal layout!
In the infinite universe of effects pedals, each cable and connection is the brush of a musical artist. The art of chaining on a pedalboard thus becomes the canvas on which each effect, each nuance, creates a unique and personal symphony.
Let’s start by explaining how an amp works…
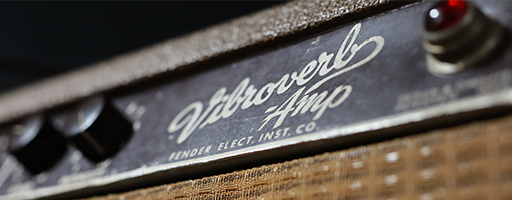
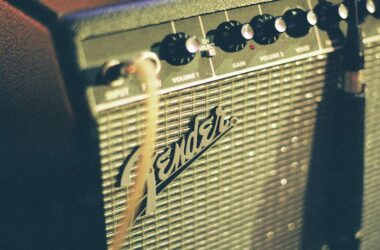
Before diving into the world of pedals, let’s first understand the anatomy and function of an amp. This will help us understand how and where to integrate your effects pedals later on.
It has three main floors:
1. Preamp: The first stage responsible for sound coloration, where the tubes (in the case of a tube amp) are used to create controlled saturation, the famous crunch favored by many guitarists.
It‘s between these first 2 stages that the effects loop can be integrated (if your amp has one). After preamplifying the sound, it can be used to integrate certain effects to give it its identity, without transforming its nature and essence.
2. The Power Amp: The power amp amplifies the signal from a few volts to several hundred volts, without necessarily saturating the tubes and changing the sound.
3. The Output Transformer: This transformer converts high voltage into high current, preparing the signal to be sent to the loudspeaker. Here too, there is normally no change in the nature of your sound.
Typical or theoretical chaining for your effects pedals
Now that we’ve taken the amp apart, let’s see how we can incorporate our pedals to create YOUR own sound. Let’s classify pedals into different categories and consider where to place them in the chain.
Pedals for use between guitar and amp
1. Vintage pedals
It’s often best to place Vintage pedals at the beginning of your chain, because of their specific characteristics and sensitivity to signal impedance. Placing Vintage pedals first ensures optimum interaction with the raw guitar signal, (reacting more readily to the guitar’s volume potentiometer) preserving their unique sonic character and offering maximum control over their dynamic response.
This category includes some legendary pedals such as :
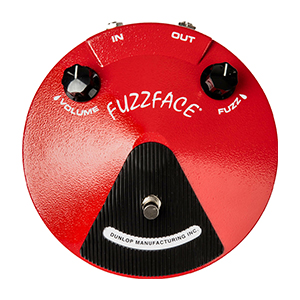
The Fuzz Face: An absolute classic, the Fuzz Face has been used by legendary guitarists such as Jimi Hendrix. Its distinctive fuzz sound makes it ideal for use upstream of the effects chain.
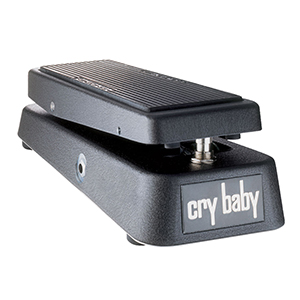
Wah-Wah : Vintage wah-wahs, like the original Cry Baby, react in a particular way to guitar playing and the volume potentiometer. Placing this pedal just upstream makes the most of its dynamic response.
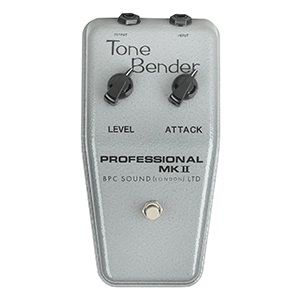
Tone Bender: Another classic fuzz pedal, the Tone Bender, is known for its powerful sound and sensitivity to impedance variations. It integrates well when placed at the beginning of a chain.
2. Tuner and Buffer pedals
In second place are 2 very important pedals in your pedalboard:
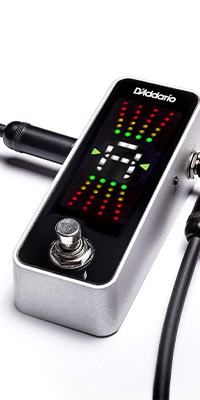
– The tuner :
An essential pedal in your pedalboard, the tuner should be integrated at the very beginning of your chain, so as to have a raw, unmodified signal coming as directly as possible from the guitar. This, of course, ensures the most accurate tuning possible. If you’re using vintage pedals at the beginning of your chain, it’s advisable to put your tuner in the second position if your tuner is true bypass (i.e. when the pedal is deactivated, it lets the sound pass through directly, without passing through any circuit).
- Buffer :
Cables and pedals can cause signal loss, especially over long distances. By placing a buffer after the tuner, you compensate for these losses by restoring the signal level.
A quality buffer can help preserve the high frequencies of the signal, compensating for the loss of treble that can occur with complex cabling and multiple pedals.
Some effects, particularly fuzz and vintage pedals, can react differently to high signal impedances. By placing the buffer in the second position, you ensure a stable and optimal impedance for the pedals that follow.
Note that some pedals integrate a buffer within their circuits.
3. Pitch and Octaver pedals
Placing pitch and octave pedals third in the effects chain optimizes their operation, again making the most of the guitar’s pure, raw signal .
Pitch and octaver pedals react more precisely to the guitar’s raw signal. By placing them after the tuner and buffer, which maintain signal quality, these pedals can operate more efficiently.
They can also better detect the subtle nuances of notes when the signal has not yet been altered by other effects. This guarantees accurate pitch detection.
Placing these pedals early in the chain also avoids interference that might be introduced by other effects. As a result, pitch tracking is more stable.
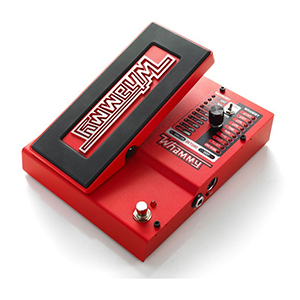
Here are a few famous examples of pitch and octave pedals: the iconic Digitech Whammy, the Boss PS-6 Harmonist, theElectro-Harmonix Pitch Fork, the Electro-Harmonix POG (Polyphonic Octave Generator), MXR M288 Bass Octave Deluxe (for our bassist friends), EarthQuaker Devices Tentacle or the Third Man Records Triplegraph (Jack White x Coppersound Signature).
4. Volume, boost or EQ pedals
The placement of volume, boost and EQ pedals in the fourth position in the effects chain is often dictated by their interaction with the gain stages (which come next) and their impact on the signal. Here are just a few reasons why these pedals are generally positioned here and allow you to sculpt the gains:
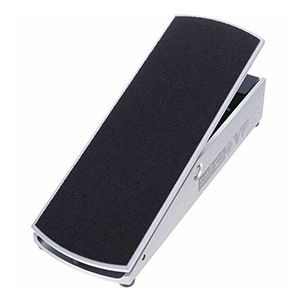
Volume pedals:
Volume pedals, placed before the gain stages, act asinput level regulators for the next gain stage. They modulate the intensity of the signal entering the saturation and overdrive pedals, which come later.
Boost pedals:
Similarly, boost pedals, placed upstream of gain stages, prepare the signal for more pronounced saturation. They raise the signal level, leading to more intense saturation in subsequent overdrive or distortion pedals.
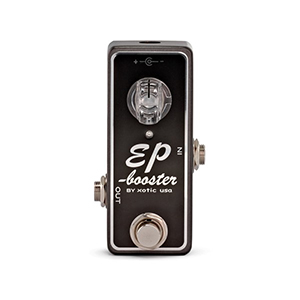
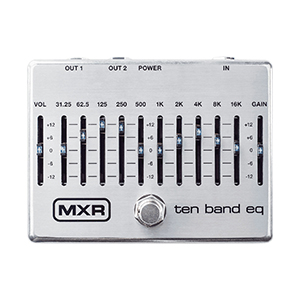
EQ or Equalizer pedals:
EQ pedals allow you to adjust the timbre of an audio signal by increasing or decreasing the volume of certain frequency bands. Placed before the gain pedals, they also allow you to sculpt the tonal character of the signal before it passes through the saturation stages. This offers precise control over how the signal is saturated.
5. Gain pedals
Finally, we come to the gain stage, which synthesizes your entire sonic identity. Placing them in the last position, just before your preamp, allows them to be influenced by the pedals before them (as mentioned above), giving maximum control over the texture and tonal character of the saturation.
When it comes to placing your various gain pedals, there are two main schools of thought: either place the pedals with the highest gains at the beginning, or start with the pedals with the lowest gains. Each guitarist has his or her own preferences as to the order of his or her gain pedals, but here are a few general guidelines that may help guide the placement of overdrives and distortions in your pedalboard chain:
- 1 – Dynamic clean or overdrive boost: some guitarists use low-gain boost pedals simply to increase signal volume without adding significant saturation. This can be useful for solos, for example, or to push the tubes of your preamp, revealing the full character of your amp.
- 2 – Overdrive: the overdrive offers light to moderate saturation, reproducing the sound of a tube amp pushed to high levels. It is often used to add warmth and dynamics to the sound.
- 3 – Distortion: distortion pedals produce more intense saturation than overdrive, creating a more aggressive sound. They are ideal for music genres such as rock and heavy metal.
- 4 – Fuzz: Fuzz generates extreme saturation, often combined with high compression. It produces a thick, powerful sound, used in styles such as blues, psychedelic rock and stoner.
- 5 – Lead boost: Lead boosts are designed to increase signal level while adding a soft saturation. They are often used to make solos stand out.
In your amp’s effects loop
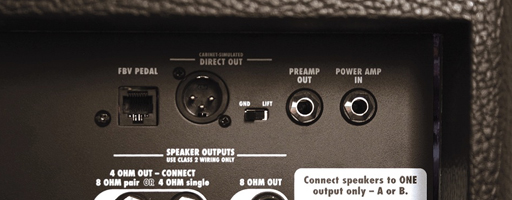
If your amp has an effects loop, you can place certain pedals in this circuit, between the preamp and the power amp. This will allow you to place certain pedals that will work better:
- Modulation effects pedals, such as choruses, phasers and flangers, often work best when placed after the preamp, in the effects loop. This allows the amplified signal to be modulated, creating richer, more distinct effects.
- Temporal effects pedals , such as delays and reverbs, are often placed in the effects loop to create spacious ambiences without altering the distortion of the preamp.
- More generally, the use of the effects loop preserves the clarity of the raw guitar signal, preventing certain pedals from influencing the amplification process too early.
If you don’t have an effect loop, don’t panic, you can continue chaining in the following order:
6. Compressor and Noise Gate pedals
- Compressor pedals:
Compression pedals, also known as compressors, are used to regulate the dynamics of an audio signal. Their main function is toreduce the signal’s dynamic range, attenuating sound peaks (the loudest parts) and amplifying quieter parts.
This results in increased sustain, a more constant output level and better control of note attack, and more generally reveals the subtle details of your instrumental playing.
- Noise Gate pedals:
Noise gate pedals can be used to reduce or eliminate unwanted noise such as hiss, hum or background noise from a guitar or other source. Their main function is to attenuate the volume of the audio signal below a certain predefined threshold, acting as a “gate” that opens when the signal is sufficiently loud and closes when it falls below the threshold.
Putting the compressor and noise gate in the effects loop can offer specific advantages in terms of dynamic control and noise management. In particular, it allows you to lightly color your sound and add sustain (the ability of a note or sound to maintain its power and volume over time after it has been played), as well as reducing the background noise and clutter of certain large distortions.
It’s worth noting that some guitarists sometimes place them before the gain stage, in order to provide more saturated sustain. provide more saturated sustain, although you’ll certainly lose in playing dynamics.
7. Modulation effects pedals
Modulation effects pedals are designed to alter the waveform of an audio signal to add tonal variations, texture and spatiality to the sound of your guitar or bass.
There are different types of modulation pedals, and here is our recommendation on the order in which they should be placed:
- 1 – Vibrato: The vibrato modifies the pitch of the sound cyclically, creating a periodic variation in frequency. For this reason, it is often placed at the beginning of the chain to affect the signal in a fundamental way.
- 2 – Phaser: The phaser creates a swirling effect by altering the phase of the audio signal. It adds a sense of movement to the guitar. Phasers are often placed after vibrato to add spatial modulation to the sound. This can create a smooth transition between the two effects.
- 3 – Flanger: Flanger modifies the signal by creating copies slightly offset in time, and blends them with the original, producing an airplane jet or “swoosh” effect. Flanger can follow phaser to intensify modulation effects, creating a more complex and dynamic atmosphere.
- 4 – Chorus: The chorus expands the sound by creating copies of the audio signal and shifting them slightly in time. It gives the impression of a thicker, wider sound. Chorus can follow flanger to add an extra dimension to the overall sound texture.
- 5 – Univibe: Univibe simulates the rotary sound of a Leslie speaker, and is often associated with vintage-type sounds. If you’re using a Univibe effect, you can place it after the chorus to reproduce a vintage, rotary sound.
- 6 – Tremolo: The tremolo modifies the volume of the audio signal cyclically, creating a periodic variation in sound intensity. By modifying the volume, tremolo can be placed at the end of the modulation chain to add rhythmic variations to the overall sound.
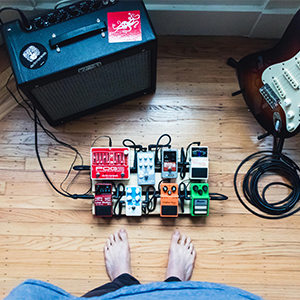
Remember that these suggestions are flexible, and experimentation is always recommended to find the layout that best suits your musical style and listening preferences. Variations in the order of modulation pedals can lead to unique and interesting results…
8. Volume effects pedals
And yes… Here we go again! At this stage, it is possible to integrate certain volume pedals:
- Volume, EQ and other signal processing pedals can have a more precise impact when used after modulation. This allows youto sculpt and shape the modulated sound to your specific preferences.
- Placing a noise gate at the end of the chain can help reduce the noise generated by effects pedals and cables. It acts on the final signal, minimizing unwanted noise. The buffer can also be used to avoid losses due to excessive cable lengths.
- Volume pedals can be used to adjust the overall level of the signal before it reaches temporal effects such as delays and reverbs. This can be particularly useful for preventing these effects from being saturated by an overly loud signal.
- Placing the EQ at the end allows you to shape the overall sound after applying modulations, ensuring that EQ adjustments affect the whole signal.
9. Temporal effects pedals
Finally, we recommend that you place temporal effects, such as delays and reverbs, at the end of a pedalboard’s effects loop is common practice for several reasons:
By placing temporal effects at the end, you ensure that all other effects have already acted on the signal. This means that delay and reverb will repeat and extend previous effects, creating a more complex and immersive soundscape.
Temporal effects often simulate natural acoustic reflections or responses. By placing them at the end, you mimic the way these phenomena would occur in a real acoustic environment.
Delays and reverbs react better to volume variations and tonal modulations when fed by a signal already shaped by other effects. This makes for a more coherent and musical response from these effects.
Placing temporal effects at the end gives you total control over how these effects interact with the overall sound of your guitar. You can adjust the effect level without other pedals altering their response.
In what order should they be placed?
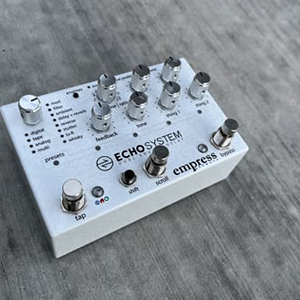
1 – Delay: Start with delays, which reproduce a sound, usually a guitar note, after a specified period of time, creating an echo or repeat effect. They can be set for short times to create a slight echo, or longer times for distinct repeats. Delay can add depth and dimension to your sound.
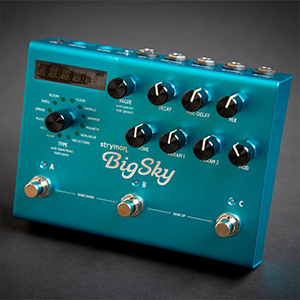
2 – Reverb: Next, reverbs, which simulate the natural acoustic effect of reverberation. Reverb simulates the natural echo of a room and adds a spacious ambience. By placing the reverb after the delay, you allow the delay to create distinct repetitions before being enveloped in the reverb.
To conclude: it’s up to you!
Remember that experimentation is the key; there are no hard and fast rules, and everyone is free to make their own choices. Changing the order of pedals or passing them in or out of the effect loop can create unexpected, but sometimes quite magical results. Try out different configurations to discover your ideal sound!
Experimentation is the key to a good pedalboard. Although there are theoretical recommendations, each musician can adjust his or her pedalboard according to his or her current preferences and desires.
You now have all the info and tips you need to master the art of chaining your various pedals to your pedalboard. If you’re thinking of designing your own, feel free to explore our various pedalboard design content and articles.
Don’t hesitate to tell us in the comments how you chain your pedals!


